Visual Building Install Instructions
2 Locate and start the Visual Building install program
When the Visual Building install file has downloaded, it should automatically run.
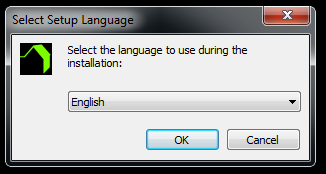
2.1 Select Language for the installation
The installer is available in English and up to ten other languages. Select your language and click on OK.
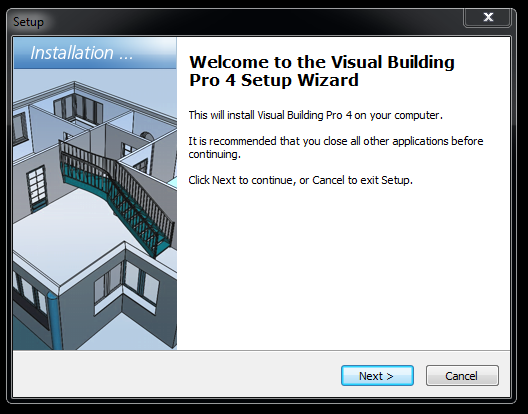
2.2 Welcome Panel
The next panel will comfirm the Visual Building version that you are installing.
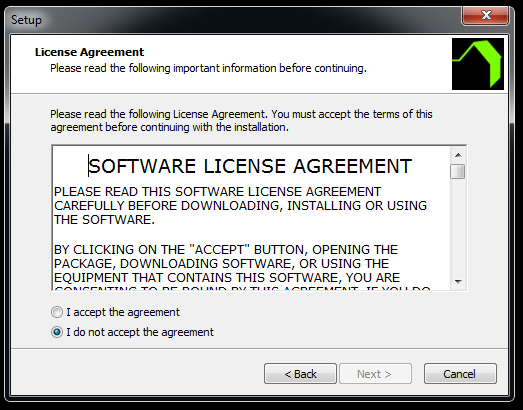
2.3 License Panel
Please read the license agreement and click I accept the agreement and then click on the Next button.
2.4 Select Destination Folder
You now have the opportunity to change the default installation location. Click Next to continue.

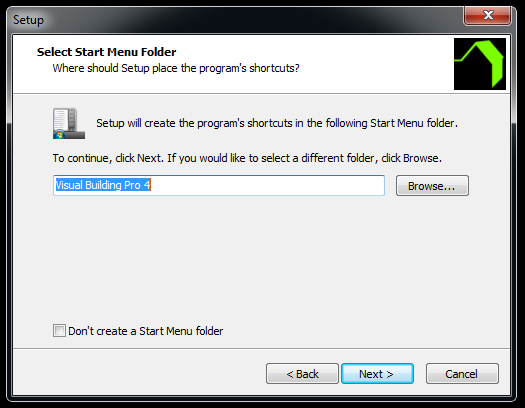
2.5 Select Folder
You now have the opportunity to change the default folder name and option to create an entry in your Start Menu. Click Next to continue.
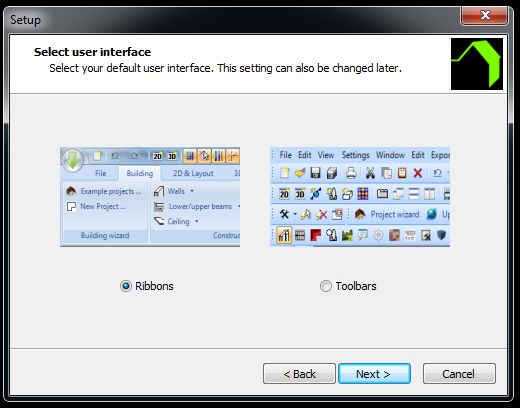
2.6 Select User Interface
There are 2 user interface styles, the new Ribbon style and the older Toolbar style. We reccommend the Ribbon, but you can switch between styles at any time no matter which version you select.
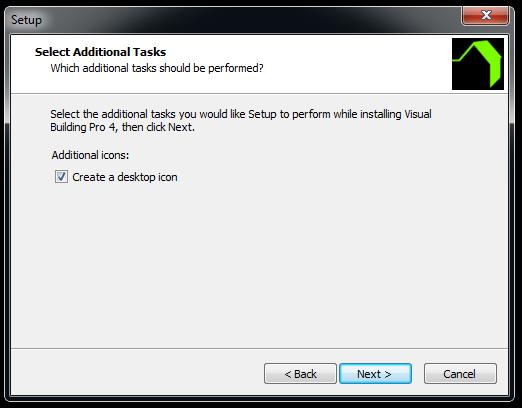
2.7 Create Desktop Icon
You now have the opportunity to create a desktop icon. Click Next to continue.
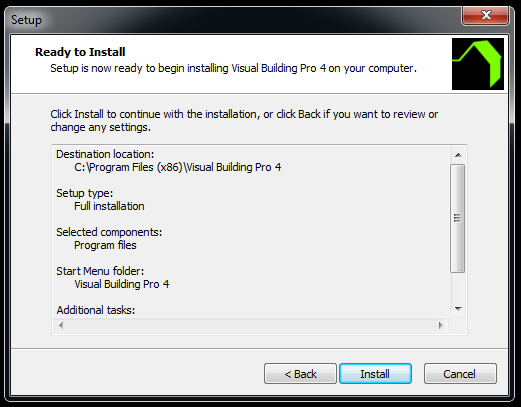
2.8 Start Install
A summary of all your selections is displayed. Click the Install button to start the installation.
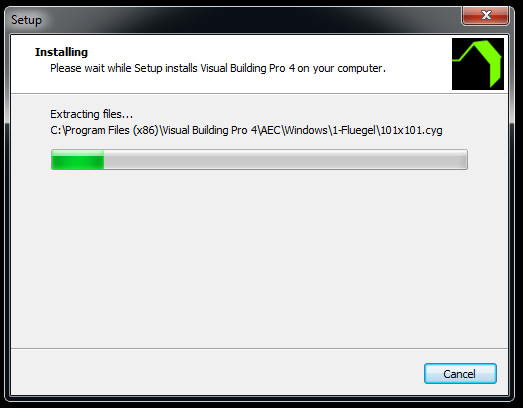
2.9 Wait for Installation
The installation will take some minutes depending upon the speed of your computer.
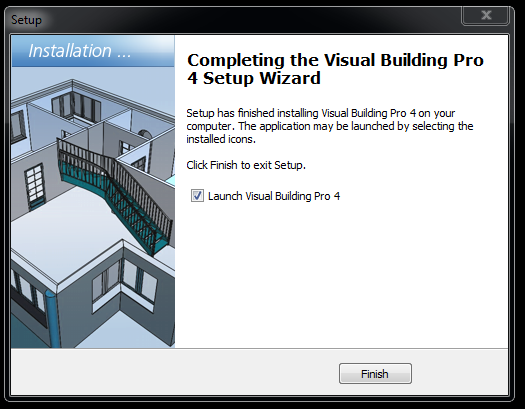
2.10 Installation Completes
When installatin is complete click the Finish button to run Visual Building.
If you have already purchased a Visual Building license then proceed to Visual Building License Instructions.